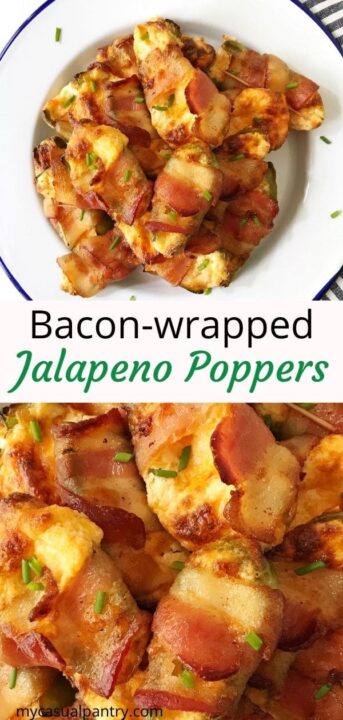
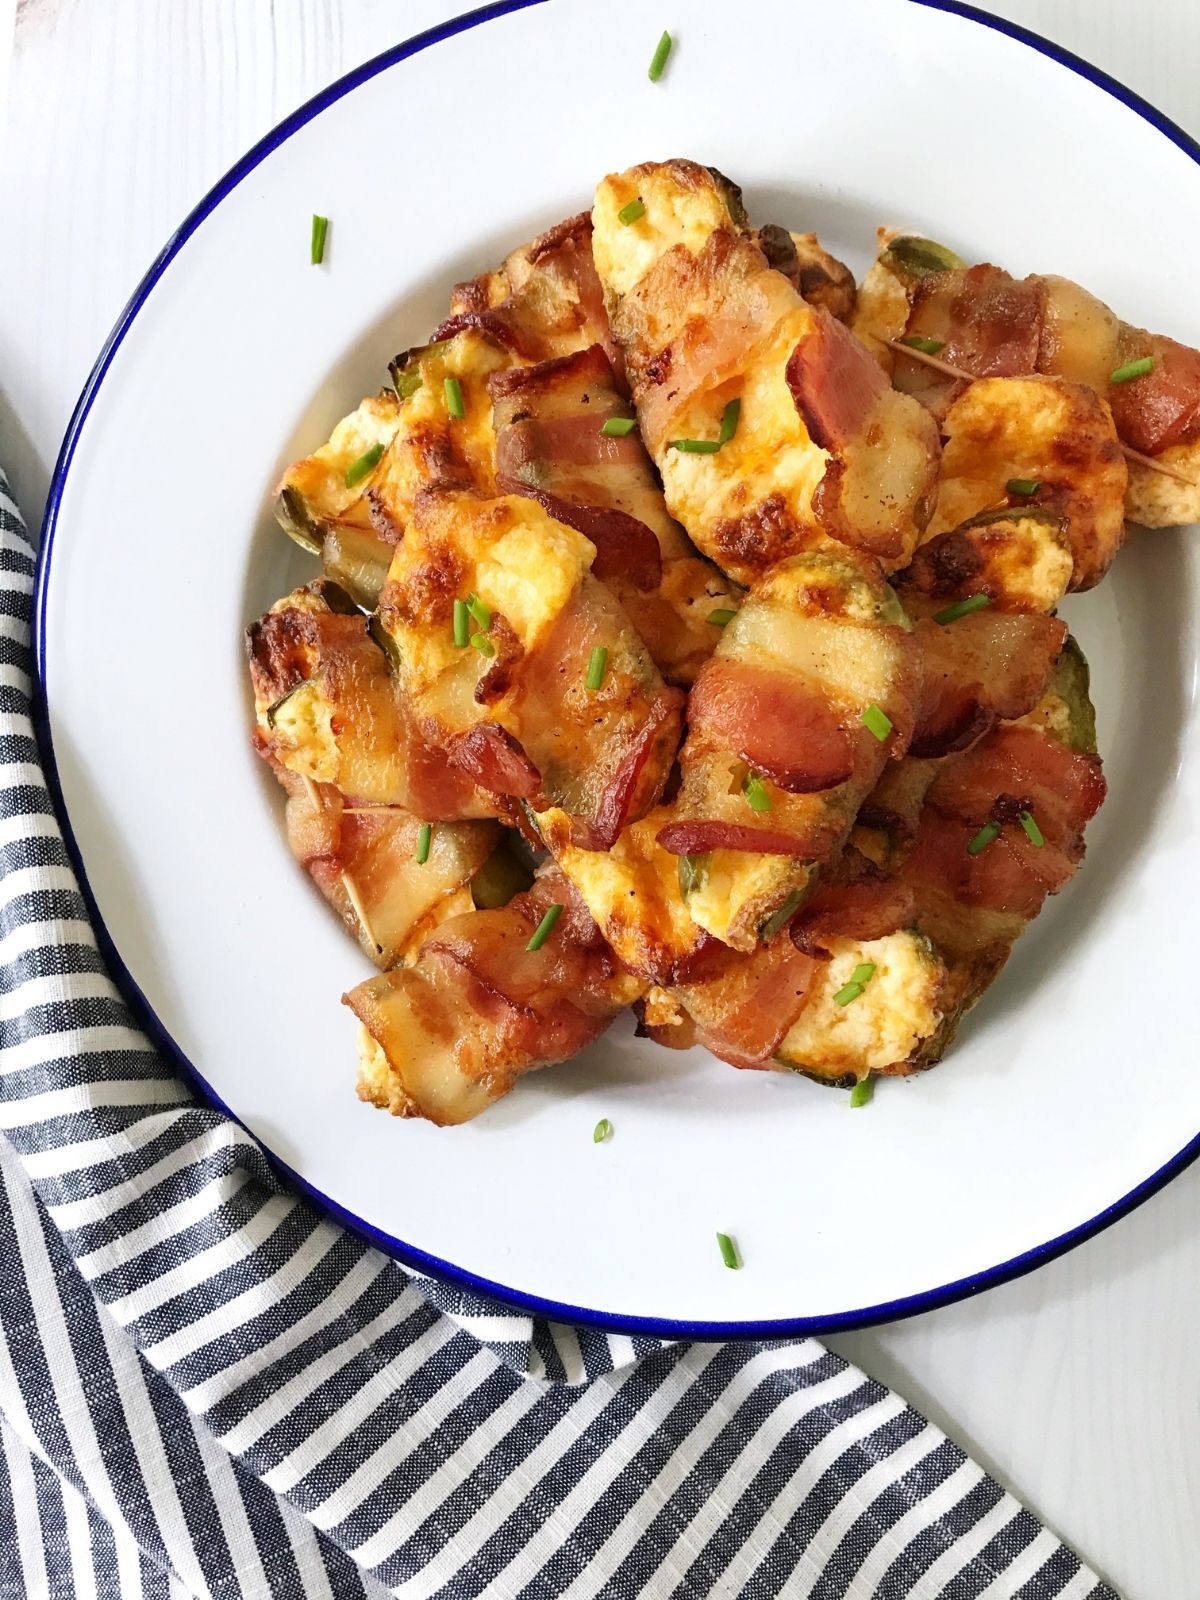
These baked Bacon-Wrapped Jalapeño Poppers are an easy make-ahead appetizer. Store in the freezer for game day, movie night, or just any time you are craving a spicy, cheesy, and smoky snack.
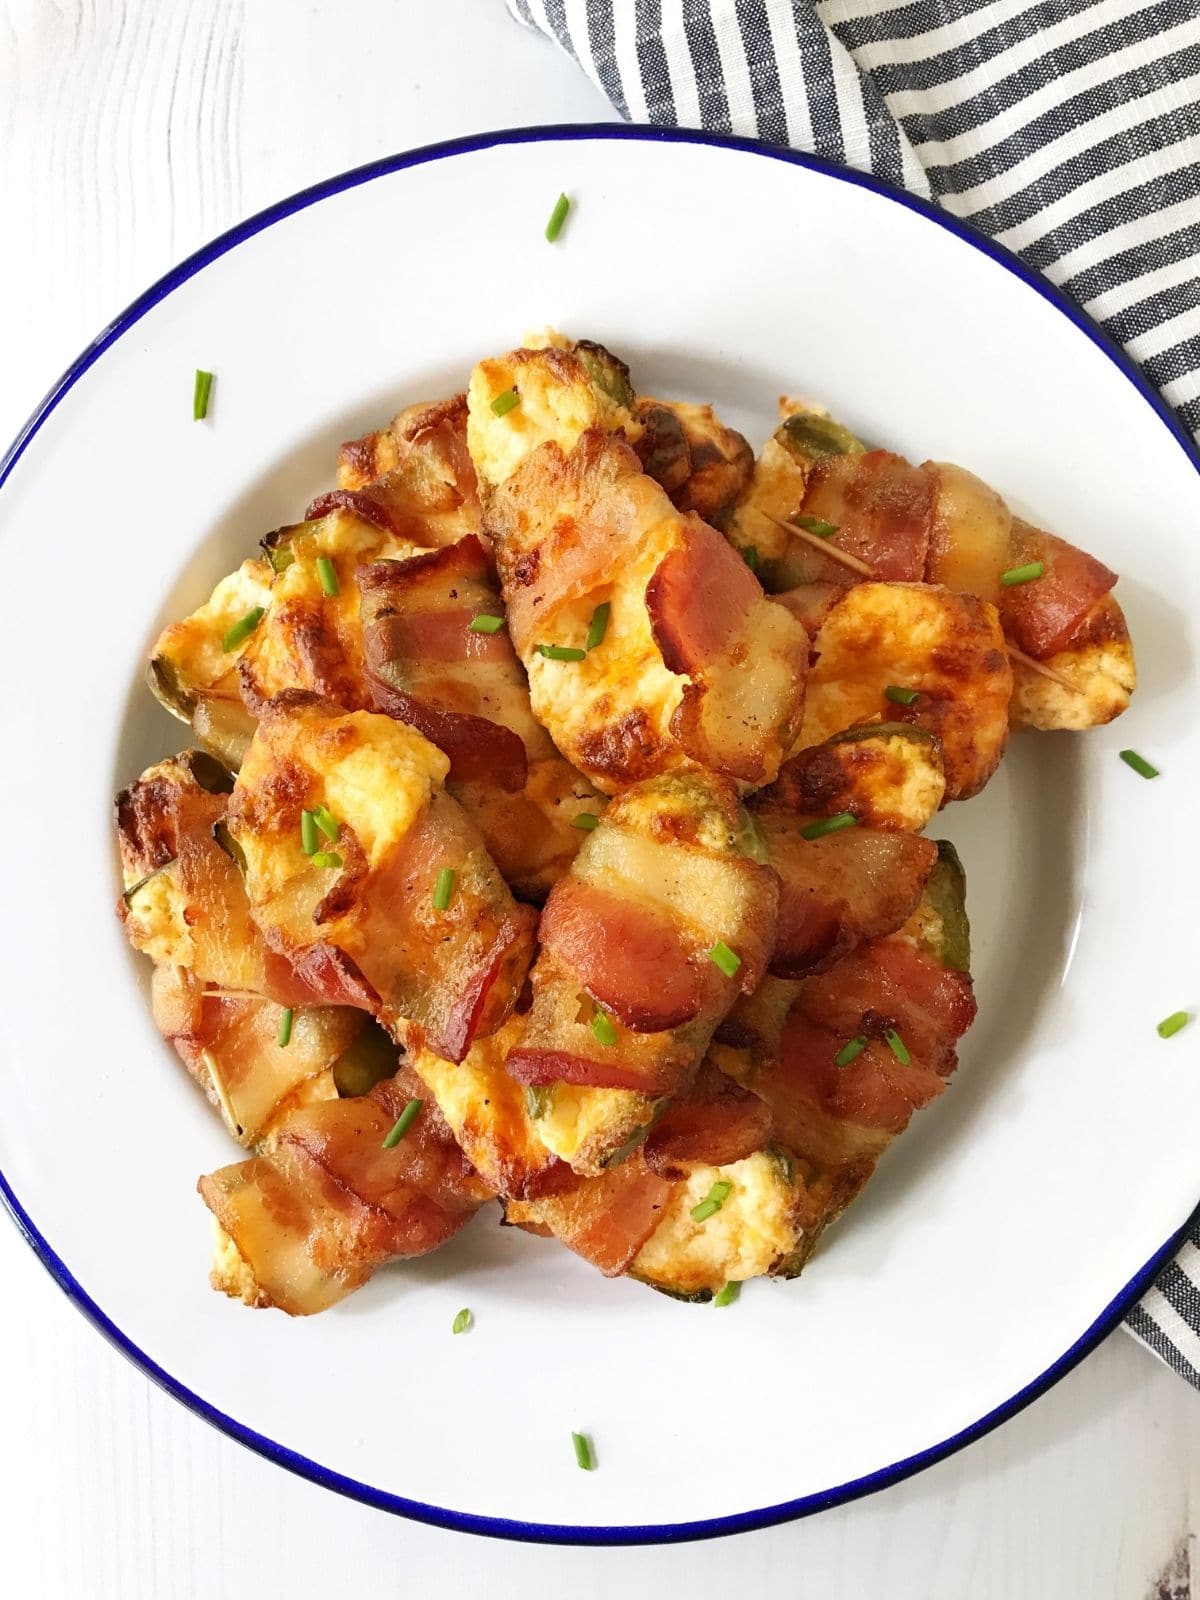
Everything is better with bacon, especially these spicy, cheese-filled jalapeños! They are a MUST for game day and are one of my favorite appetizers of all time!
These bacon-wrapped jalapeño poppers are baked, not fried, and can be completely prepped ahead of time. (See below for step-by-step make-ahead instructions.)
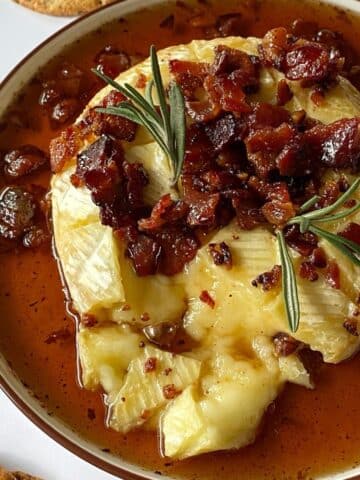
For more bacon-wrapped game-day favorites, try BBQ Bacon-Wrapped Shrimp and Maple Dijon Bacon-Wrapped Smoked Sausages.
Ingredient notes
With just four ingredients, these flavor bombs couldn't be easier to make.
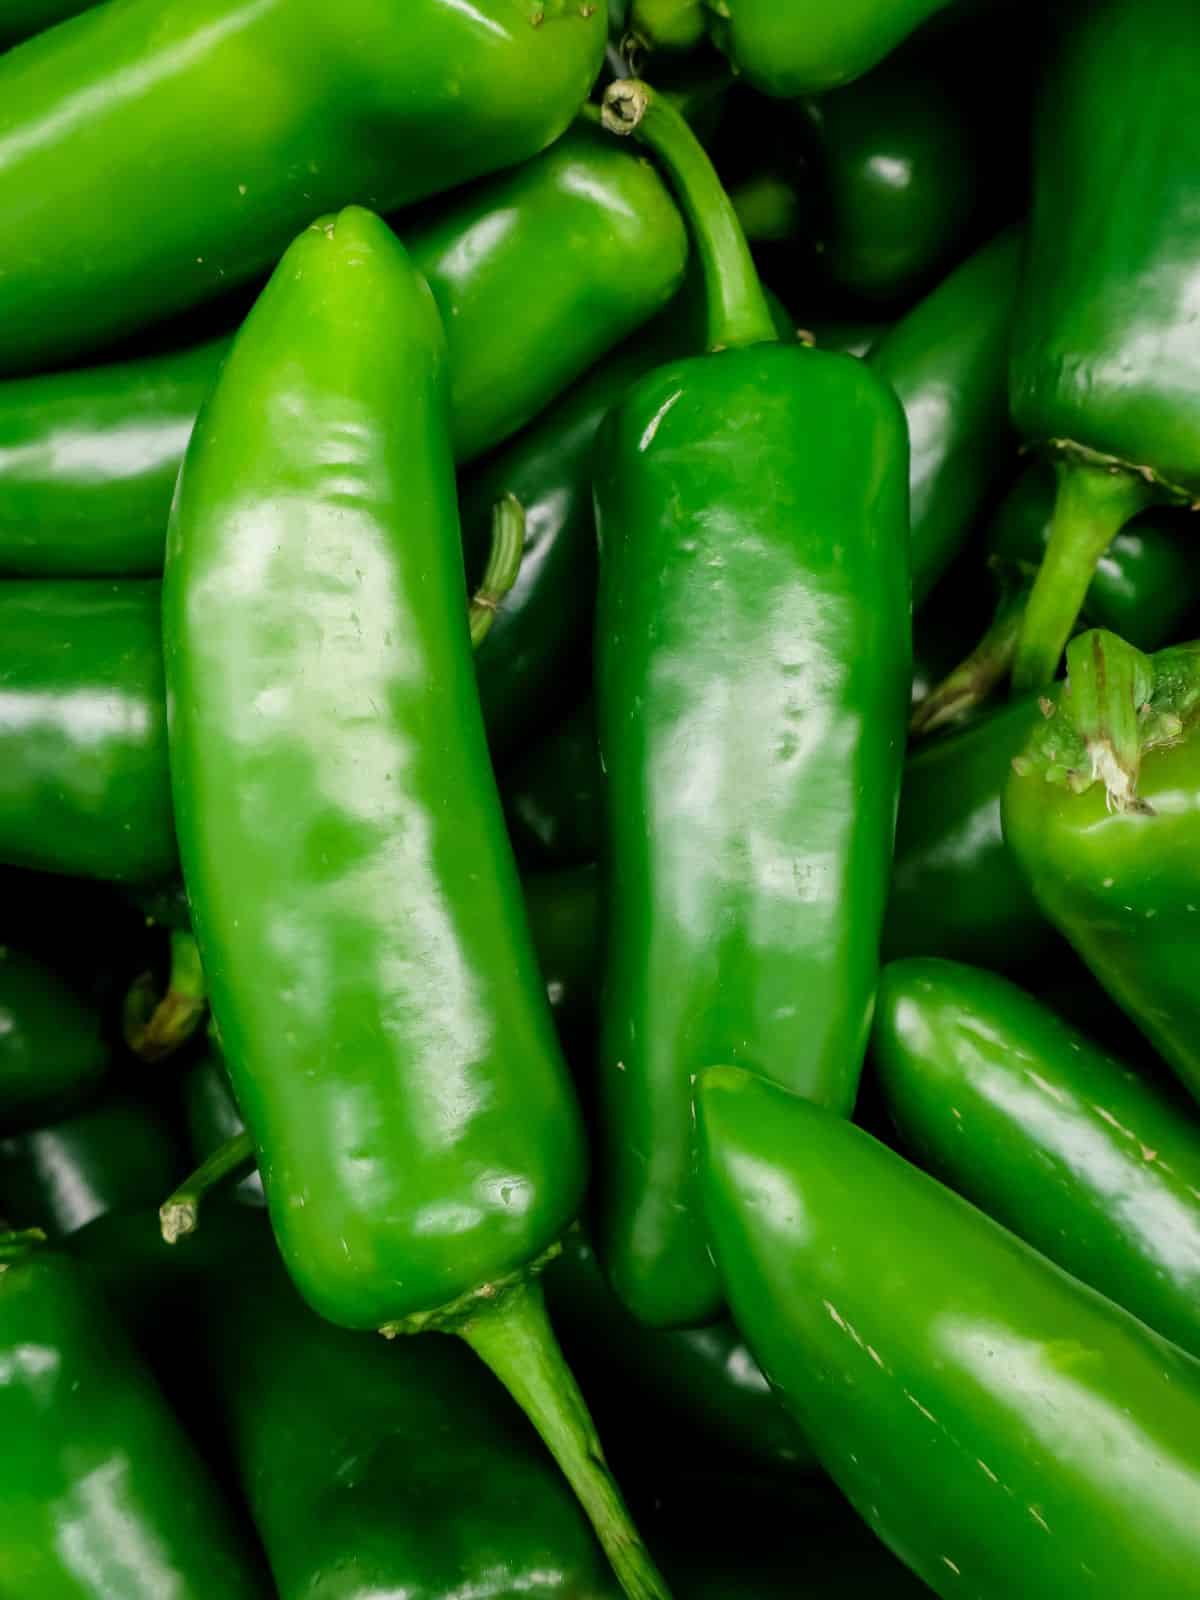
- Jalapeño peppers are spicier than poblanos but less spicy than serranos. If you aren't a fan of spice, substitute mini bell peppers. They have a similar shape and size and are equally delicious in this recipe.
- Cream cheese - I prefer traditional block cream cheese. Avoid whipped cream cheese for this application.
- Cheddar cheese is my go-to in these poppers. Pepper Jack, Monterey Jack, and Colby are also great options. Use freshly shredded cheese for the best flavor and melting quality.
- Bacon - Use thin or regular-cut bacon. It wraps easily around the cheese-filled peppers and will cook completely in the time it takes to bake the peppers.
Step-by-step instructions
See the recipe card for complete instructions and ingredient amounts.
PRO TIP: Wear disposable plastic gloves when working with spicy peppers. Capsaicin - the ingredient in peppers that makes them spicy - is very irritating to the skin. If you don't have disposable gloves, wash your hands very thoroughly after touching spicy peppers and avoid touching your face and eyes.
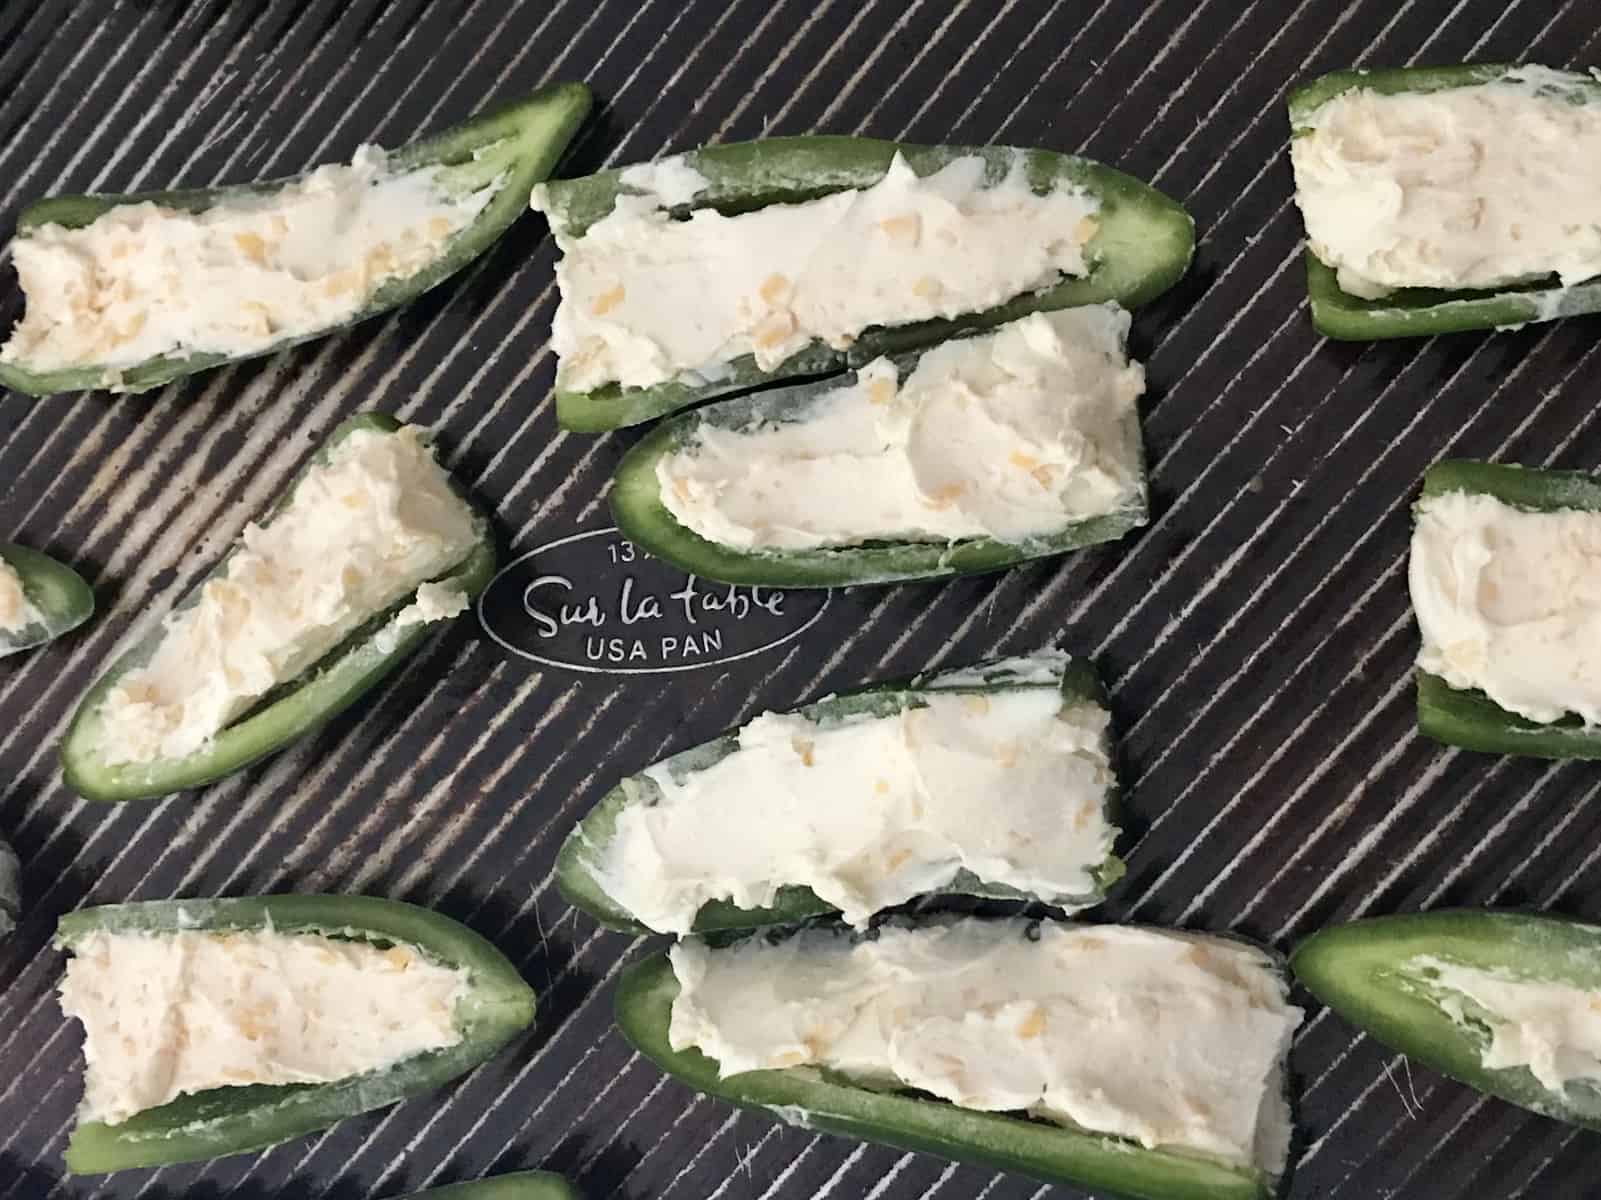
- Cut each jalapeño in half lengthwise and remove the seeds and membranes. This helps to control the spice level. If you love spice, feel free to leave some of the seeds and membranes.
- Combine cream cheese and shredded cheddar cheese. Use room-temperature cream cheese so it blends smoothly.
- Fill each jalapeño half with the cheese mixture.
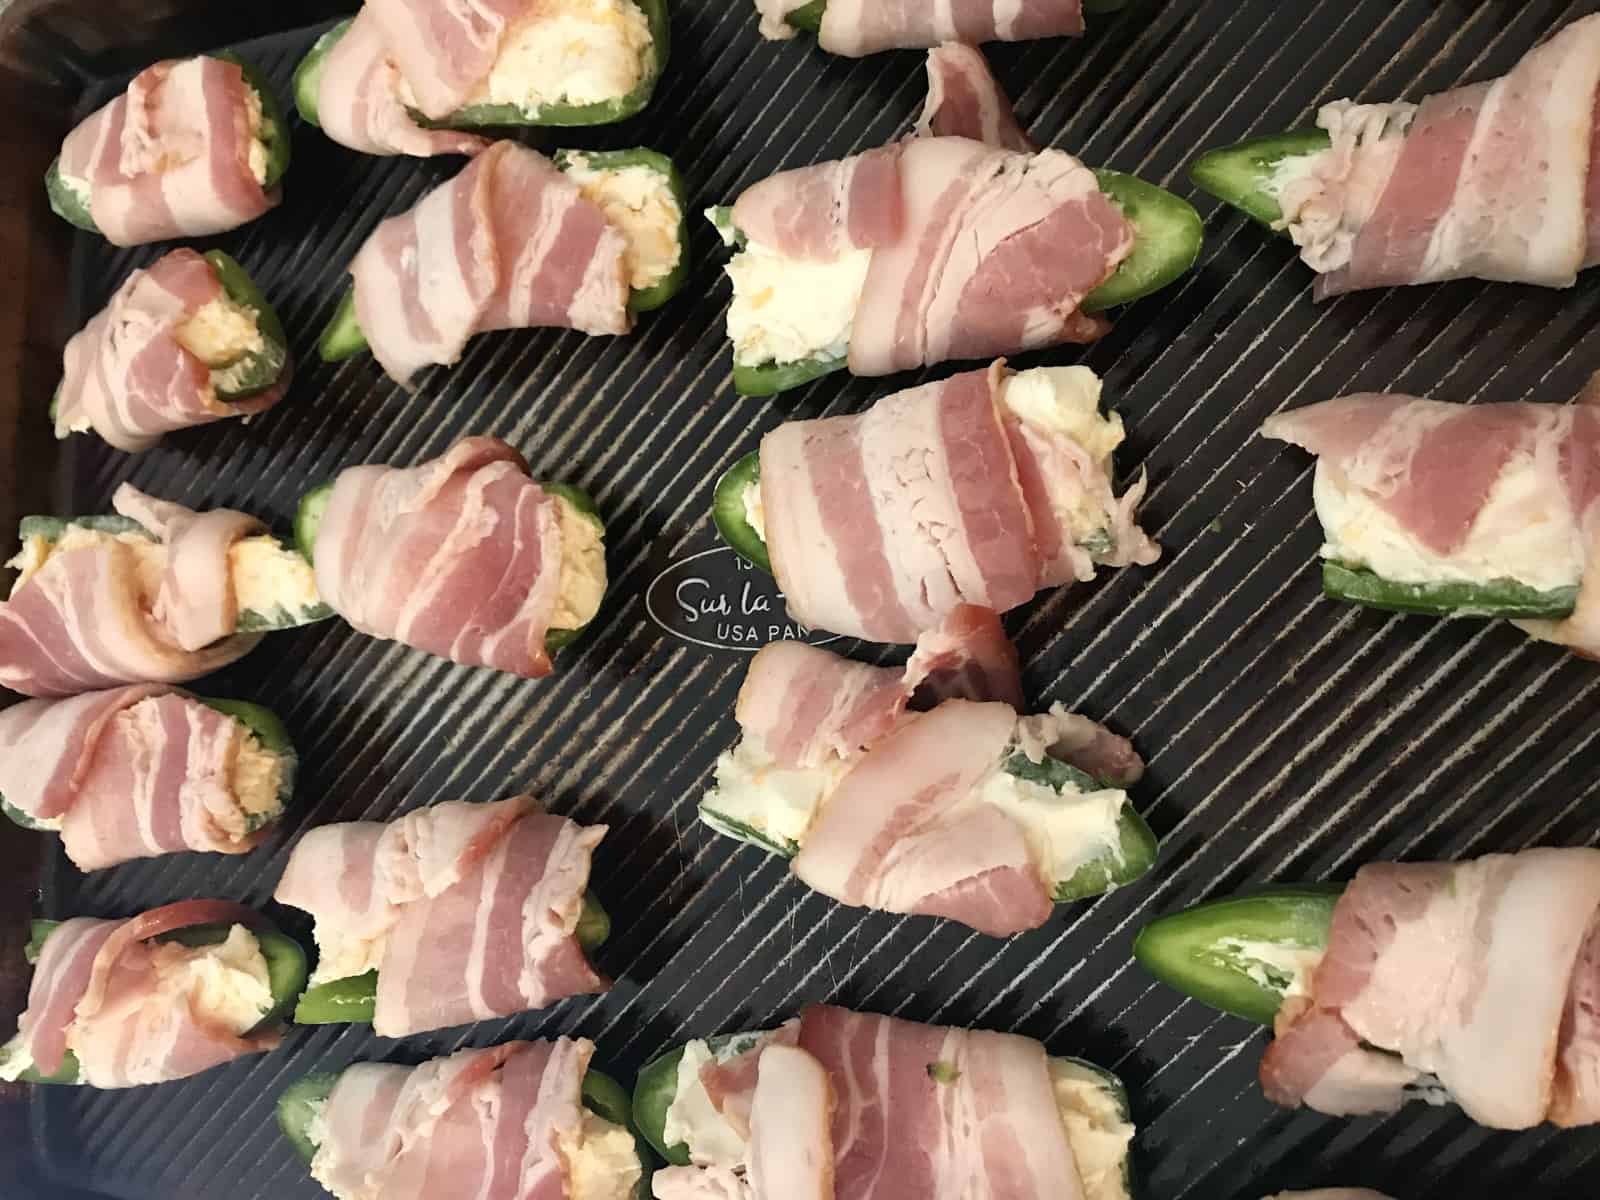
- Wrap each jalapeño with bacon, fastening with a toothpick if necessary.
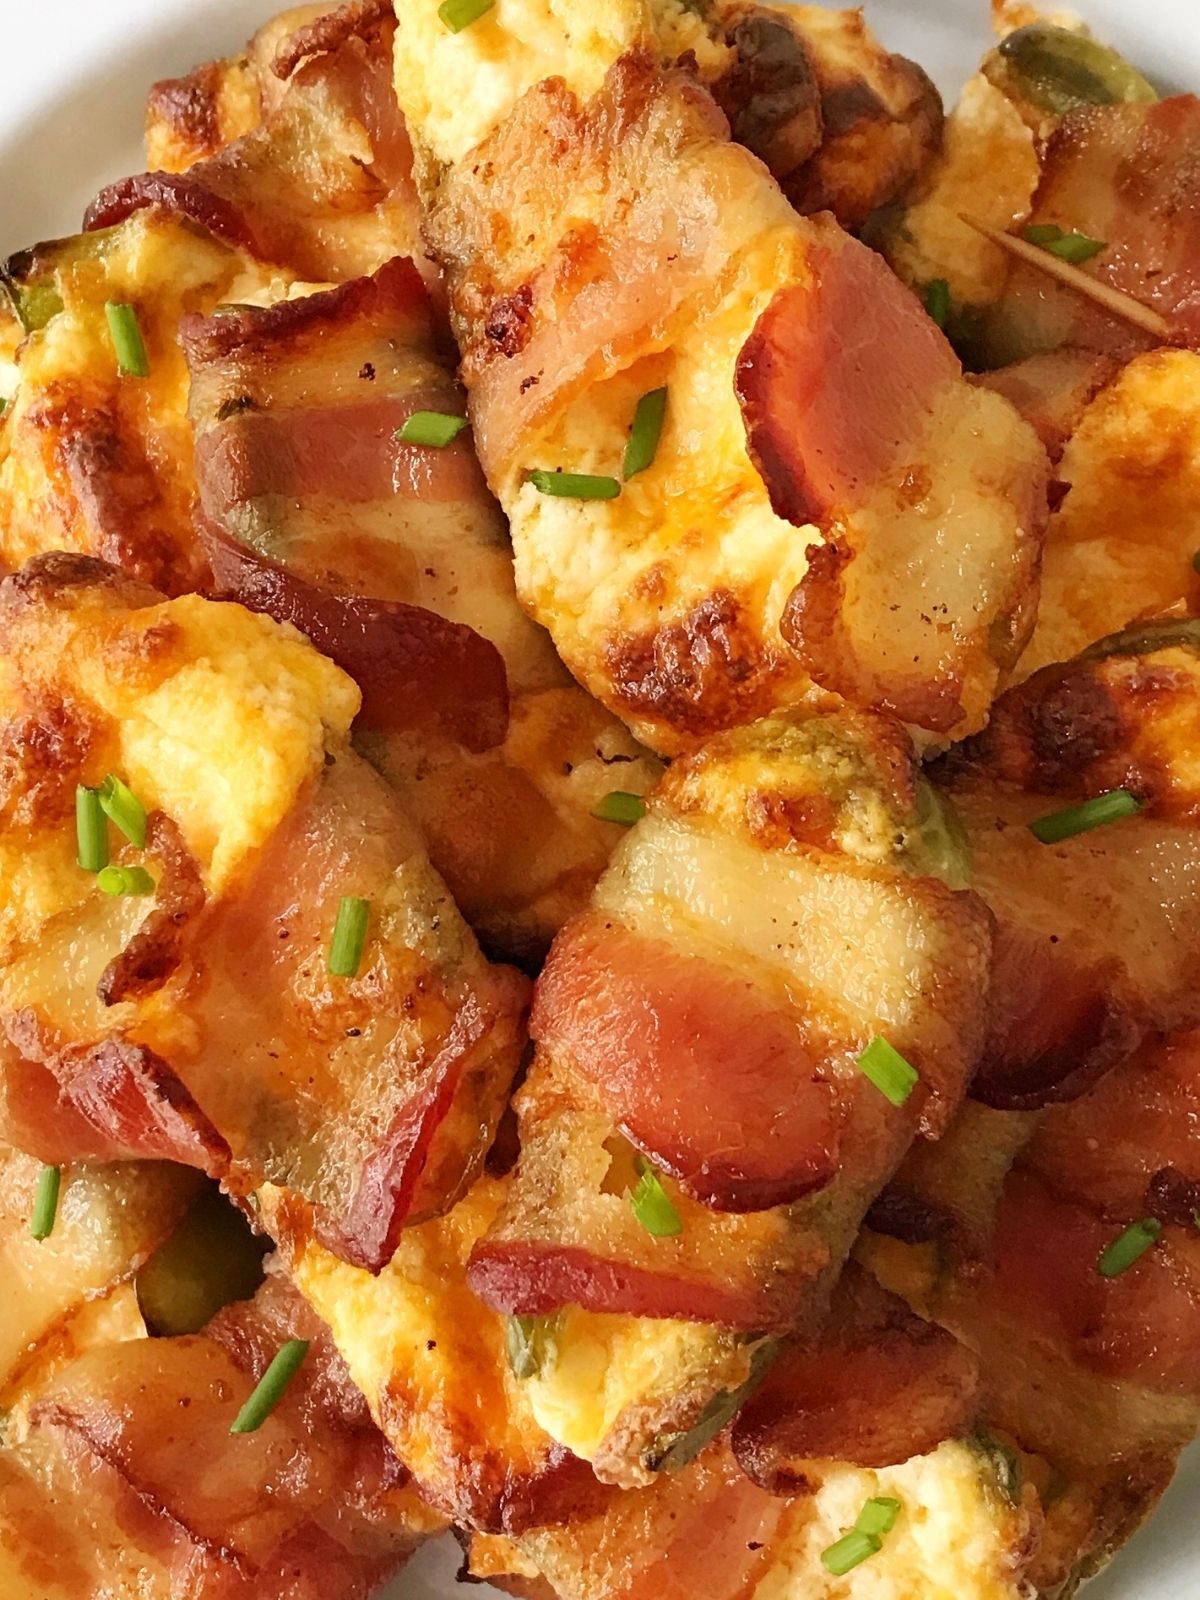
- Bake the peppers on a sheet pan fitted with a wire rack. The rack allows the heat to circulate to help crisp the bacon. Bake until the cheese is starting to ooze out and the bacon is crisp.
Make-ahead instructions
- Clean the peppers. Fill with the cheese mixture, and wrap with bacon.
- Arrange the peppers on a sheet pan and place in the freezer to flash freeze for 30 minutes or until firm.
- Place the peppers in a zipper-top bag and freeze for up to three months.
- To bake, remove as many peppers as needed, place on a baking sheet, and bake until the bacon is crisp. Allow 5-10 minutes extra when baking from frozen.
I love keeping a large batch in the freezer and pulling out a handful when I have a craving for these spicy bites.
FAQs
Jalapeño poppers - especially the bacon-wrapped variety - are absolutely delicious on their own. But if you want to serve them with a dip, try Ranch dressing or an apricot or raspberry sauce.
Serve poppers as part of an appetizer spread with other small bites. Or serve alongside steak or chicken with coconut lime rice, cheese and onion scones, watermelon salad, and garden fresh salad.
First, do not over-stuff the peppers with the cheese filling. Secondly, wrapping the poppers with bacon helps keep the cheese filling intact. Lastly, if the cheese filling is extremely soft, refrigerate (or freeze) the poppers for 20-30 minutes before baking.
Tools needed
Half sheet pan and baking rack for half sheet pan
Mixing bowl
More appetizer recipes you may enjoy


Craving more?
Subscribe to My Casual Pantry to get the latest recipes and ideas sent directly to your inbox.
📖 Recipe Card

Bacon-Wrapped Jalapeño Poppers
EQUIPMENT
Ingredients
- 10 jalapeño peppers
- 8 ounces cream cheese (regular or reduced-fat)
- 1 cup shredded cheddar cheese
- 10 slices bacon (cut in half (do not use thick-cut))
Instructions
- Preheat the oven to 425 degrees.
- Cut the jalapeños in half. Remove the seeds and membrane. (Note 1)
- Combine cream cheese and shredded cheddar. Blend together until smooth. Fill each jalapeño half with cheese mixture. Wrap each jalapeño with a half slice of bacon.
- Place bacon-wrapped jalapeños on a sheet pan lined with aluminum foil and a baking rack.
- Bake for 25-30 minutes until the cheese is oozing and the bacon is brown and crisp.
To make-ahead
- Prepare the jalapeños as directed above. Instead of baking, place the peppers on a sheet pan and flash freeze for 30 minutes or until the peppers are firm. Transfer the peppers to a zipper-top freezer bag and store in the freezer for up to 3 months.
- When ready to bake, preheat the oven to 425 degrees. Place the jalapeños on a foil-lined sheet pan fitted with a baking rack. Bake until the bacon is crispy and cheese is bubbly. Allow 5-10 minutes extra baking time when baking from frozen.
Notes
- When working with spicy peppers, wear disposable gloves to protect from Capsaicin. Capsaicin is the ingredient in peppers that makes them spicy. It can be very irritating to the skin. If you don't wear gloves, wash your hands very thoroughly and avoid touching your eyes and face.
- If the cheese filling is extra soft, refrigerate (or freeze) the prepared peppers for 20-30 minutes before baking. This will help prevent the cheese from oozing too much out of the pepper.
- Serve these poppers as part of an appetizer spread. Or serve with chicken or steak alongside rice, fruit salad, or green salad.
Nutrition
Nutritional information is an estimate and will vary depending upon the exact amounts and specific ingredients used.
Author's note: This post was originally published in October 2018 and has been updated.


Comments
No Comments