
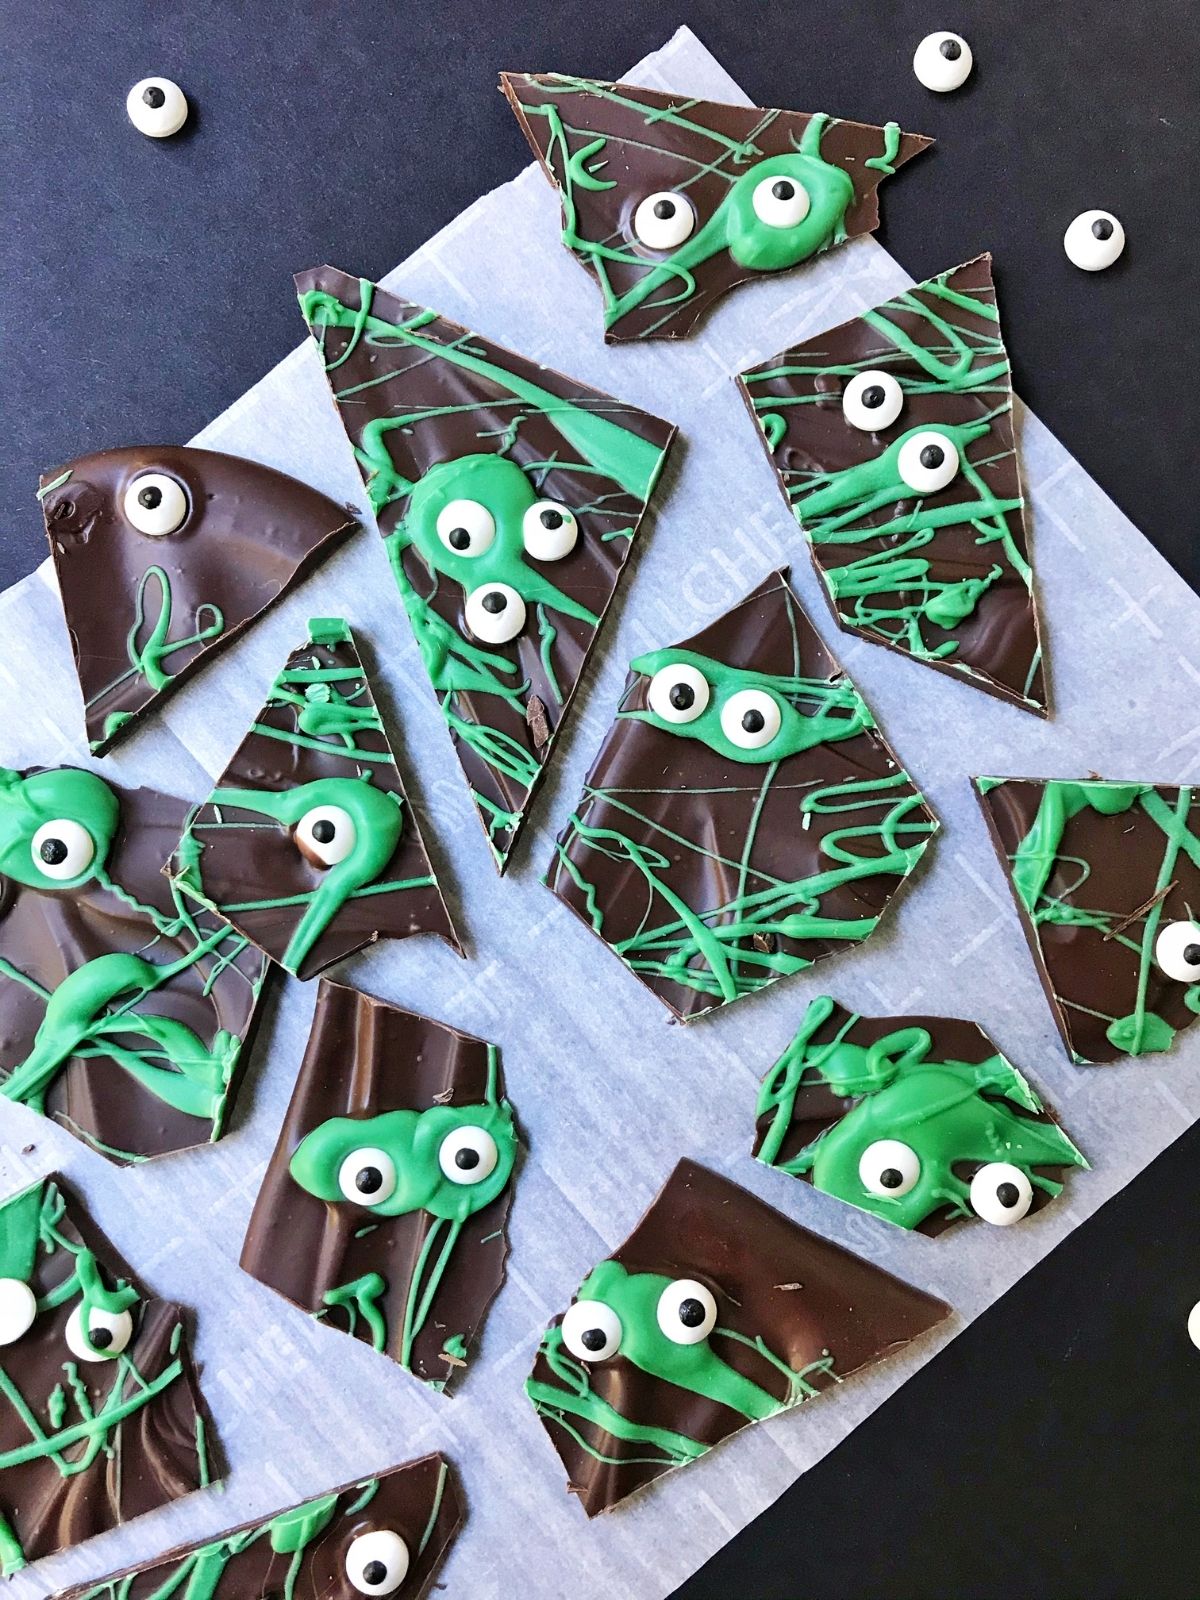
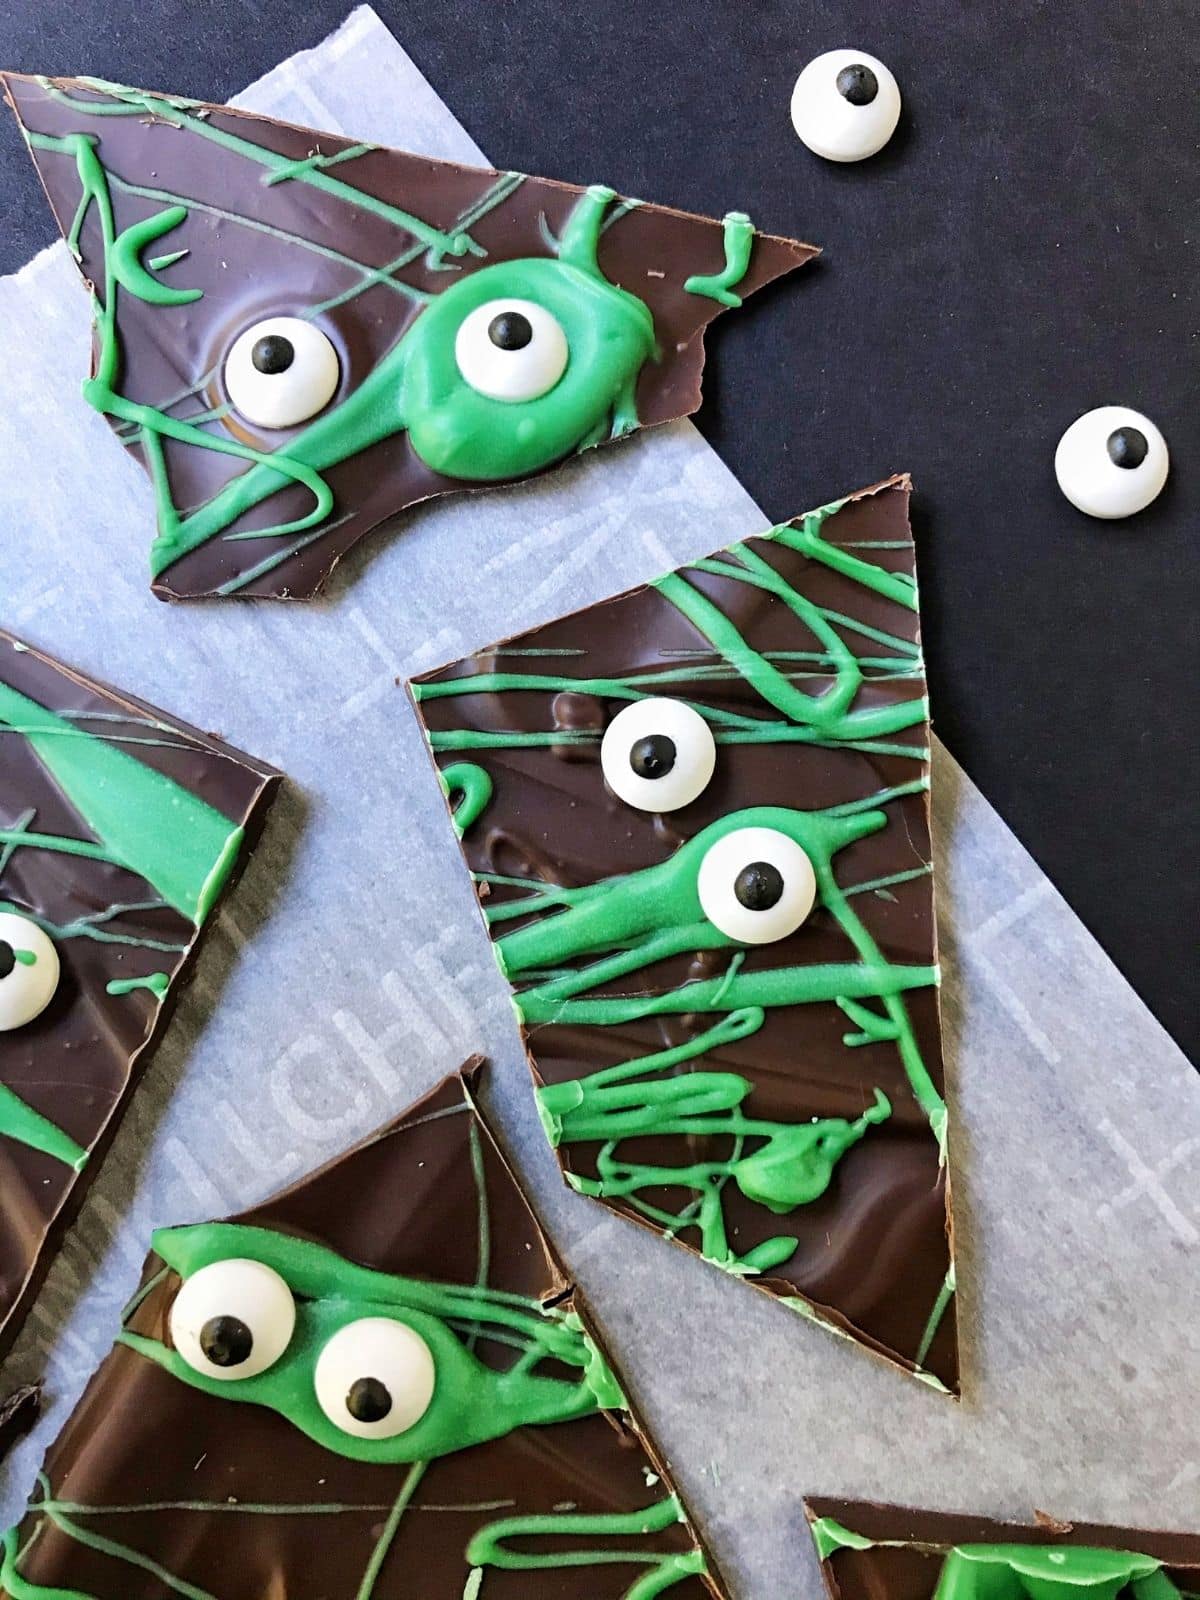
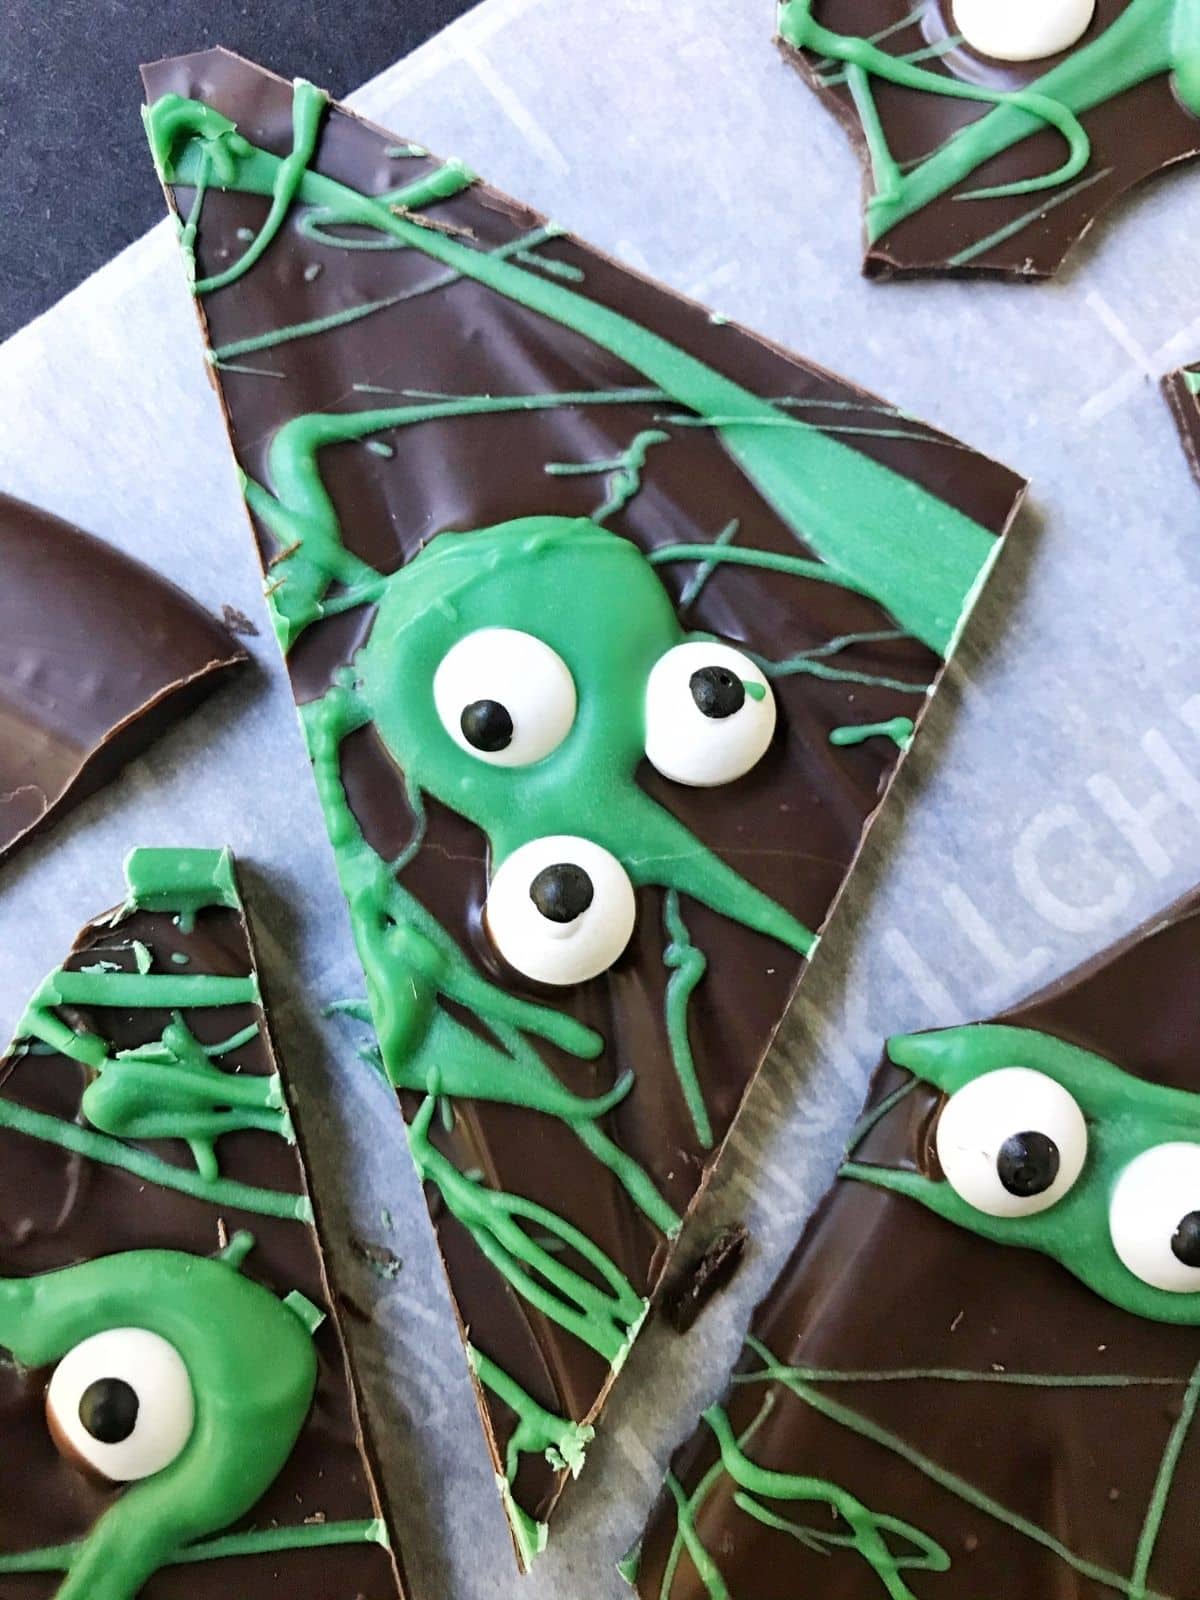
Halloween Monster Bark is a festive treat layering melted chocolate with ghoulish green candy melts and spooky candy eyeballs. This Halloween bark is a fun treat that can be customized with seasonal colors and toppings.
You will love this easy, festive treat
Making chocolate bark is as easy as MELT, SPREAD, GARNISH, and SET. Nothing complicated. Just melt chocolate, spread into an even layer, and decorate with sweet or salty add-ins. The hardest part may be waiting for the chocolate to set before tasting!
Halloween is the perfect time for making fun and festive treats. For school, for parties or just because, kids of all ages love Halloween-themed treats. And this chocolate monster bark couldn't be easier. The addition of candy eyeballs turns this bark into a spooktacular treat.
For more ghoulish treats, try these Cheesy Mummy Bratwurst!
What is chocolate bark?
Chocolate bark is simply chocolate that has been melted, spread into an even layer, and topped with nuts, dried fruit, candy, or more chocolate. Once set, the bark is broken into shards. These shards are said to look like the rough exterior of a tree, thus the name "bark".
Ingredients
- Chocolate - Choose dark, semi-sweet, milk, or white chocolate baking bars.
- Colored candy melts - Green, orange or purple candy melts are great options to use as an accent color.
- Candy eyeballs create the "monsters" in this bark. Candy eyeballs can be found at craft stores like Michaels or Hobby Lobby and at party stores. Some supermarkets may also carry them seasonally.
Assembling the bark
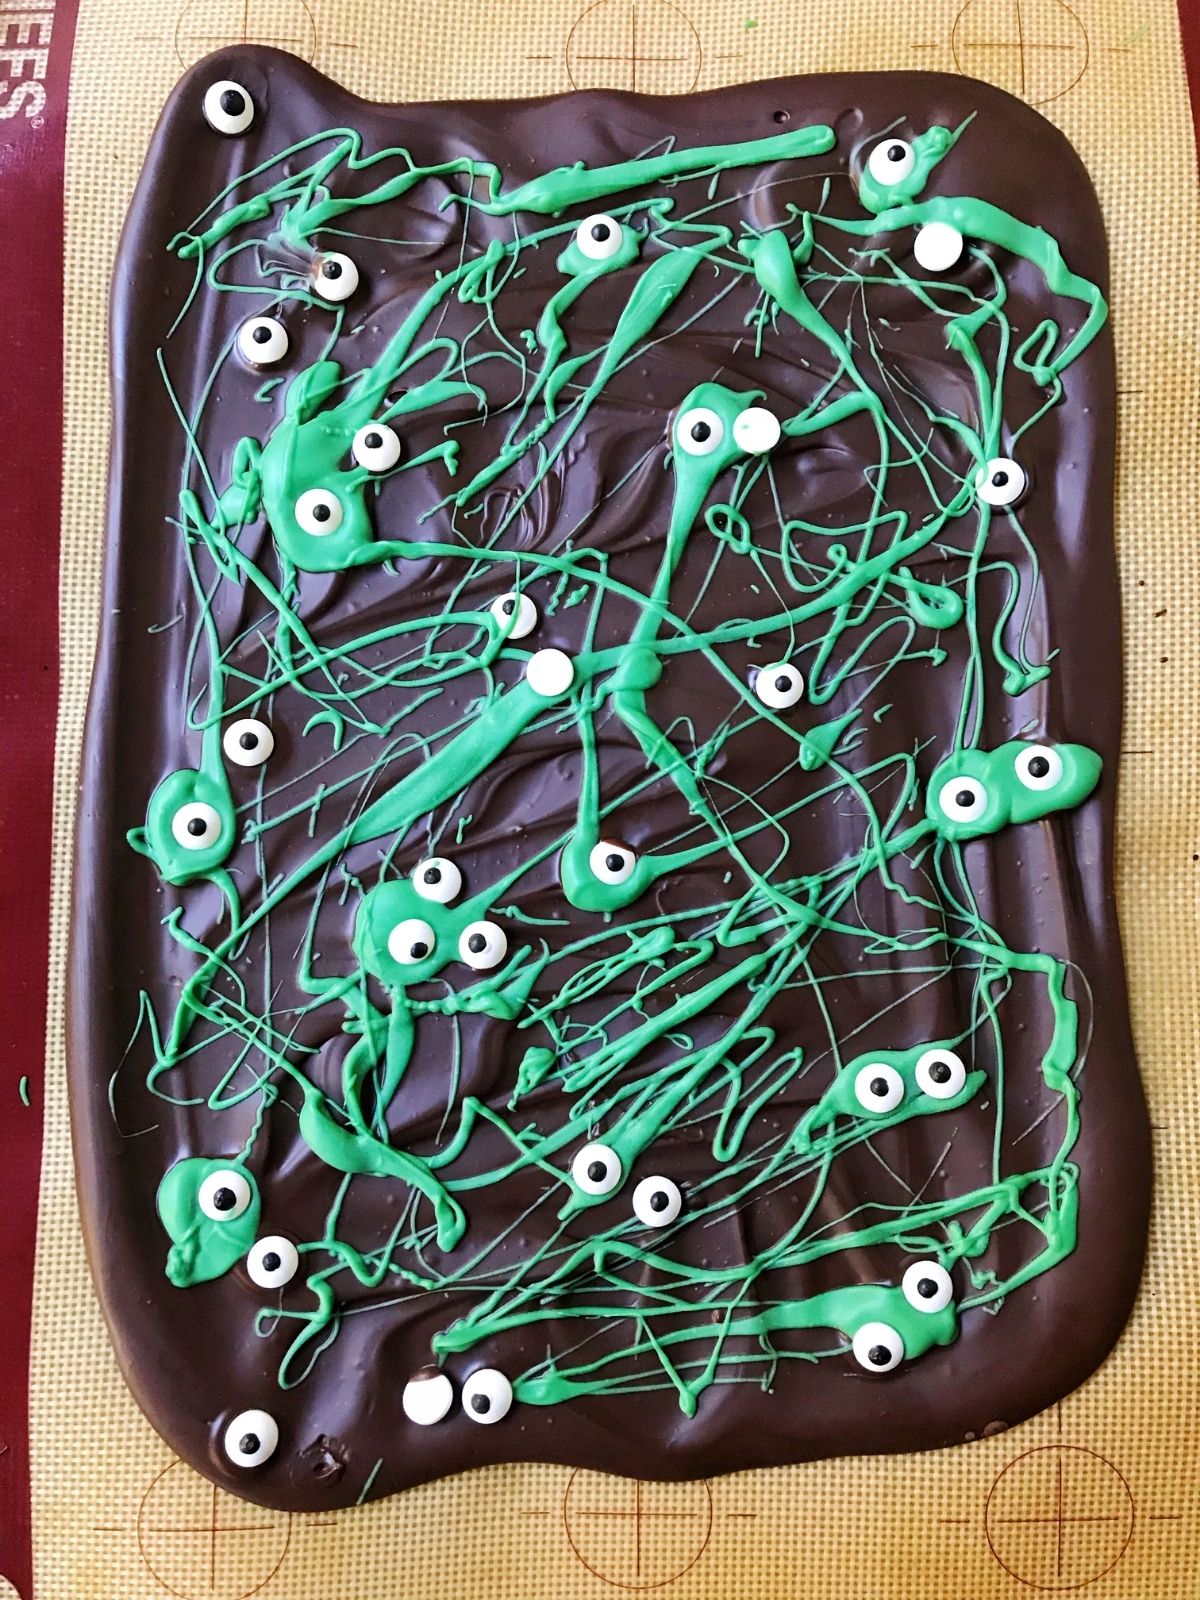
- Spread the melted chocolate in an even layer on a parchment-lined baking sheet. (A silicone baking mat can also be used.)
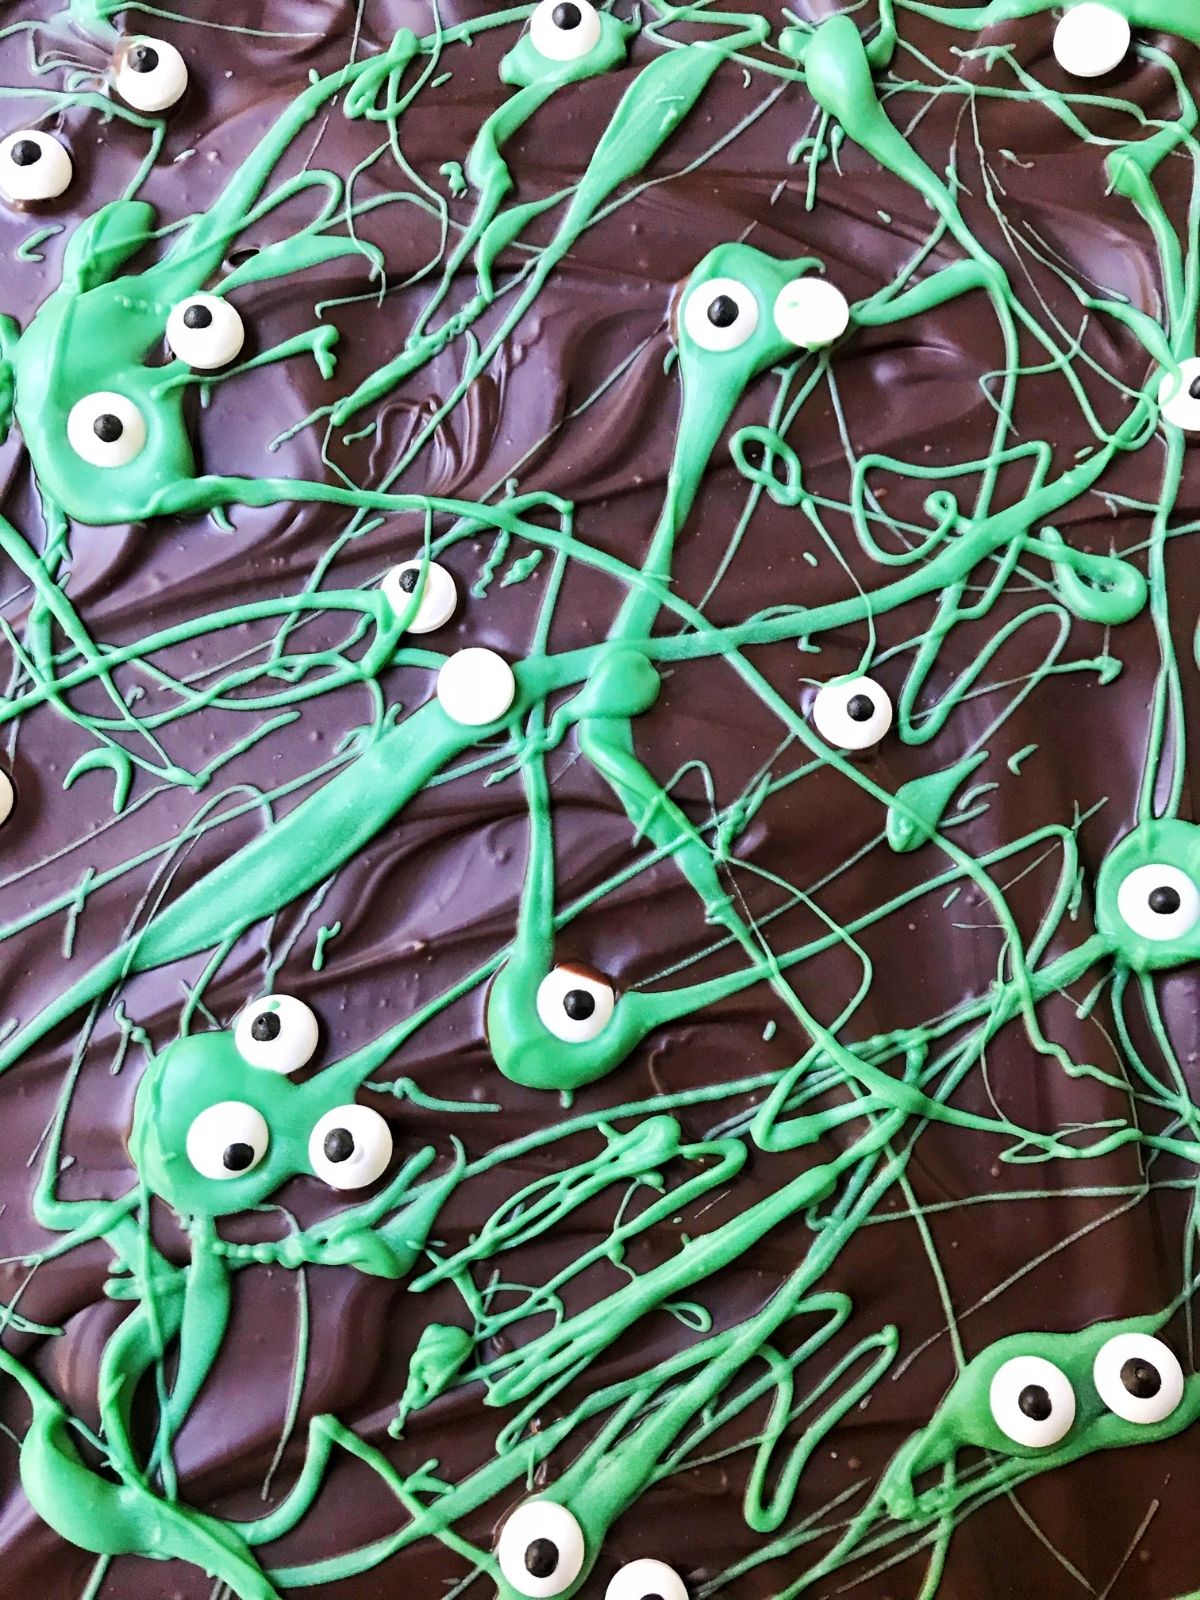
- Drizzle the melted colored candy melts over the top in a random fashion.
- Arrange the googly candy eyeballs on top.
- Let the bark set up and harden at room temperature. The bark can also be refrigerated to set up faster. Cut or break into pieces.
Variations
Chocolate bark is so much fun to make because the flavor combinations and toppings are endless. Let your creativity run wild! Choose different textures, flavors, and seasonal combinations for any occasion or time of year.
Choose dark (bittersweet), milk, or white chocolate for the base. Then get creative with toppings, such as:
- Chopped nuts like pecans, walnuts, almonds, or pistachios
- Crushed peppermint candy
- Crushed Oreo cookies
- Chopped candy bars or M&M's - a great use for leftover Halloween candy
- Swirls of melted candy melts in various colors
- Seasonal sprinkles
- Dried cranberries, cherries, or apricots
- Flaked coconut
Storing
Store the bark in an airtight container at room temperature. If refrigerated, the bark may take on a hazy appearance.
Chocolate bark FAQ's
Chocolate is the star here and the flavor will shine through, so you want to use good quality chocolate for the best taste. Pure chocolate is best. I use Ghiradelli baking bars which can be found in the baking aisle of your supermarket. Chocolate chips have stabilizers in them which prevent them from melting well, but in a pinch, you can use them.
Melting chocolate isn't complicated, but it is important to melt the chocolate slowly so that it doesn't burn or cease up.
Double-boiler method - Set a heat-proof bowl over a pan of gently simmering water. The bottom of the bowl should not be touching the water. Add the chocolate to the bowl and stir until completely melted.
Microwave method - Add the chocolate to a microwave-safe bowl. Microwave in 30-second intervals at 50% power. Stir after each 30-second interval. The chocolate holds its shape as it softens, so stirring is key to monitoring when the chocolate is melted. Stir until completely smooth.
This Monster Bark is sure to be a hit at your Halloween festivities.
Equipment
Sheet pan | Parchment paper or silicone baking mat | Mixing bowl | Saucepan (for double-boiler)
Craving more?
Subscribe to My Casual Pantry to get the latest recipes and ideas sent directly to your inbox.
More seasonal treats to try
📖 Recipe Card

Easy Halloween Monster Bark
Ingredients
- 10 ounces dark chocolate (like Ghiradelli )
- ¼ cup candy melts (green, orange, or purple)
- ½ ounce candy eyeballs
Instructions
- Line a baking sheet with parchment paper or a silicone baking mat. Set aside.
- Chop the chocolate and add to a heat-proof bowl. Place the bowl over a pot of simmering water (making sure the bottom of the bowl doesn't touch the water). Heat slowly, stirring until completely melted. Alternatively, use the microwave method. Add the chocolate to a microwave-safe bowl and microwave in 30-second intervals at 50% power until melted, stirring in between intervals.
- When melted, pour the chocolate onto the prepared baking sheet and spread into an even layer approx. ¼-inch thick.
- Next, melt the colored candy melts according to package directions. Drizzle over the chocolate in a random fashion. Before the chocolate sets, arrange the candy eyeballs on top. Let harden at room temperature. Cut or break into pieces. Store in an airtight container.
Notes
- Use good quality chocolate for the best taste. Pure chocolate is best. I prefer Ghirardelli baking bars which can be found in the baking aisle of your supermarket. Chocolate chips have stabilizers in them which prevent them from melting well, but in a pinch, you can use them.
- Melting chocolate isn't complicated, but it is important to melt the chocolate slowly so that it doesn't burn or cease up.
Double-boiler method - Set a heat-proof bowl over a pan of gently simmering water. The bottom of the bowl should not be touching the water. Add the chocolate to the bowl and stir until completely melted.
Microwave method - Add the chocolate to a microwave-safe bowl. Microwave in 30-second intervals at 50% power. Stir after each 30-second interval. The chocolate holds its shape as it softens, so stirring is key to monitoring when the chocolate is melted. Stir until completely smooth.
Nutrition
Nutritional information is an estimate and will vary depending upon the exact amounts and specific ingredients used.
This post was originally published in October 2019 and has been updated.


Comments
No Comments